Billing & Payments
Follow the instructions below to make payments through the MAR website, powered by Growth Zone.
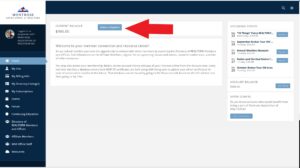
1. Login to your MAR Member HUB and from the Home screen. Your balance will show at the top of the page. Click the Make a Payment Link.
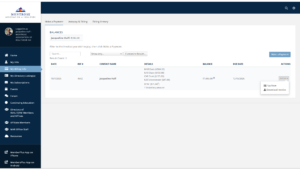
2. A dropdown menu of your current invoices will show up where you can see your balance, and download and pay any open invoices. At the top of the page, there are several tabs where you can see your Auto-payment options (if it has previously been set up) or add a Payment Profile by clicking on the (+) link to the right of the words, "PAYMENT PROFILE." From the other tab, you can also view your billing history.
Select either Make a Payment or the Actions link followed by Pay Now or Download Invoice in the dropdown list.
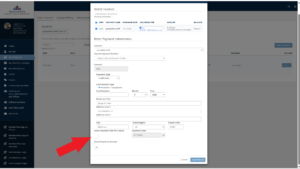
3. A new window will open where you can check the box of the invoice you wish to pay. Please also check or uncheck the Voluntary RPAC fee (you can also change the RPAC contribution amount you wish to pay.) Enter your credit card or electronic check data or chose a previously saved payment profile. If you chose Electronic Check, please see below for further instructions.
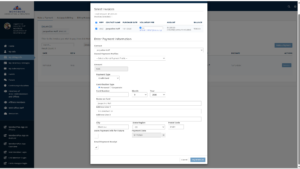
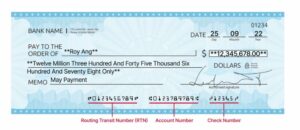
4. If you chose Electronic Check, you must enter in your driver's license number and the MICR Number which is all the numbers found at the bottom of your physical check.
The MICR (Magnetic Ink Character Recognition) number at the bottom left of a check identifies the bank branch that it is issued from, the account number of the payer, and the number of the account holder’s check in a consecutive series. From left, the line displays the following information:
The nine-character routing number that identifies the bank branch
The 12-character account number that identifies the payer
The four-character check number that indicates which check in a series that the account holder has used.
It looks like this: 000000000 000000000000 0000
Enter the entire MICR number from beginning to end — the routing number, account number, and check number — omitting only spaces and ‘squiggle’ characters.
5. You can now choose to Store Payment Info for Future which will create a Payment Profile, keeping your card number on file for future use by selecting the box to Store Payment Info for Future. Checking this box WILL NOT automatically charge your card for future invoices. If you prefer, you can set this to automatically pay invoices using this credit card however.
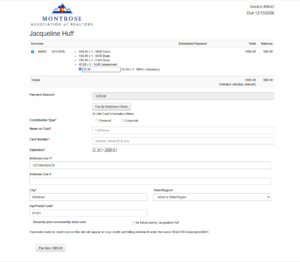
6. If you choose to Download Invoice. there is a link at the bottom of page two that will take you to an alternative online payment page.
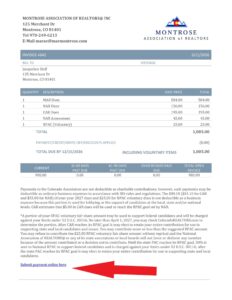
7. A new window will open up where you can complete the payment information with the same instructions found in Steps 3 and 4 above. Click the Pay Now link once all the information has been entered.